Kicking Against the Clicks: How to Make Vinyl Decals
Have you ever asked about vinyl, only to be drawn into a conversation about music? Learning how to make vinyl decals is an exercise in art and crafting, especially if this is your first venture into a project.
If you have access to printable vinyl, you’ll be able to pull off some incredible designs with just a few additions. These are the type of decals you can peel and stick anywhere you want, from your fridge to your car.
What’s So Cool about Learning How to Make Vinyl Decals?
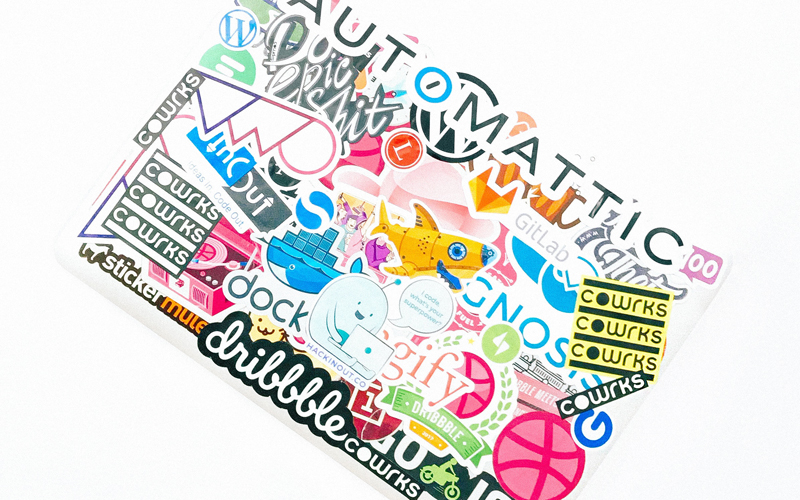
In a word – everything. Just a quick search for vinyl decals across the internet tells you that the designs for these deluxe adhesives are endless. Name a character or logo and you can probably find one in the form of a printable decal that you can plaster on just about any surface.
Although there are some incredibly fancy kinds of software available for printing, you won’t need to purchase anything too expensive. In fact, you can throw together some amazing designs with nothing more than what’s already on your computer. You won’t need a deluxe die-cutter or any other type of professional machine.
The kind of adhesive you’ll be working with can be used everywhere. It’s weather-resistant, so don’t let the rain stop you from making a new bumper sticker. Whether you want to show off your design indoors or outdoors, you’ll get hooked on making decals faster than you can learn how to turn on a die-cutting machine.
What Do I Need to Learn How to Make Vinyl Decals?
Fortunately, you won’t need to invest too much when you are ready to learn how to make vinyl decals. The initial cost is more about learning than it is spending.
To start, you should have a stack of inkjet vinyl ready to go. Most of the time, you can find this with a laminate overlay already included in a starter pack. If you already have the overlay, you can purchase vinyl by the sheet. You’ll need an application tool, as well as an inkjet printer. Make sure your ink is all stocked up for color if you plan on using a lot of different shades.
Although it isn’t necessary, you might want to consider some kind of electronic cutting machine if you are going to make vinyl decals on a regular basis. For example, you could buy the Silhouette Cameo, a great starter-level cutting machine. It’s versatile enough to give you what you’ll need in decals without breaking the bank.
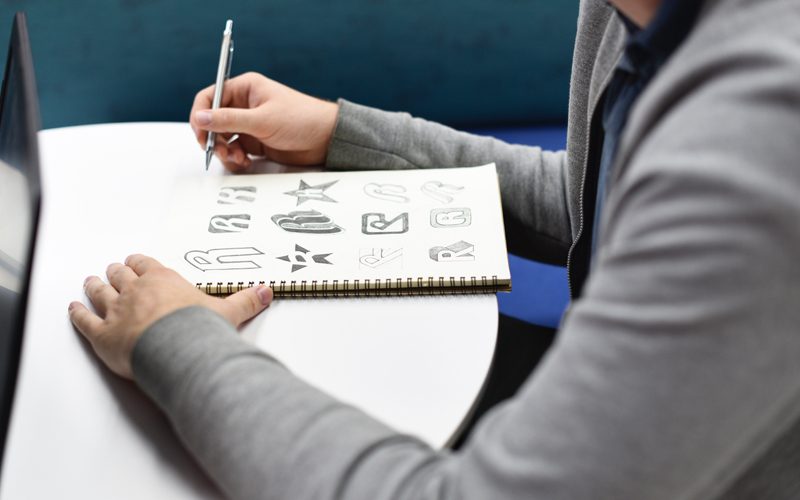
Finally, the most important part: your designs. You can either sketch them yourself or grab them from an image-friendly place on the web. Dive into places like Pinterest, DeviantArt, or Google Images for some inspiration if you’re coming up short.
How to Make Vinyl Decals, Step by Step
Now that you’re prepared with all your material, it’s time to learn the process of creating your new art. With everything in front of you, you can get started.
Design Preparation and Printing
If you want to cut your decals by hand, all you need is some basic photo editing software. In fact, you could even use Microsoft Word if you know where to look. All you need to do is put your designs into an 8.5 X 11 page, click print, and you’re done.
For those of you that have access to a Silhouette or similar cutting machine, you’ll have a few more steps involved. The first thing you have to do is establish your document in the included Studio software before you print. Inside the page settings, make sure the size is set to 8.5 X 11. If the size is different, adjust the numbers according to what you have set in the printer.
Ensure that you have your registration marks turned on when using Silhouette. This lets your cutting machine perform its task exactly as it was intended. Once that’s finished, go into your designs by opening them in the software. Now, you can arrange them on the page to your liking.
While placing your designs, always remember to rotate them to make sure they will squeeze into the page. Vinyl is a lot more expensive than office paper, and you want to get as much as you can out of one sheet.
When you are arranging your images, don’t forget to keep your images out of the areas marked off by checkered patterns. You’ll also want to keep your cuts inside the red line, which is clearly visible while you work inside Silhouette.
After putting all of your designs in place, you can make a cut line around all of the edges for your images. Open up the tracing window, and click on Select Trace Area. Now, you can drag the rectangular area around each of your designs. You can then adjust the threshold setting once everything shows up in a shade of yellow.
Last, click on Trace Outer Edge to make the cut lines you’ll need around the edges of your shapes. You’ll find a red line, just like the one you saw before, around the sections to be cut.
All that’s left to do is print out your images. Make sure the printer is loaded with a fresh piece of vinyl, and that the correct side is facing the printing side. Choose the Print option under File, and wait for your image to be sent through the computer to the printer.
Applying the Vinyl Laminate
If you’re in a rush or you don’t feel like going the extra mile, you can stop here and just cut your decals. However, if you really want to learn how to make the best vinyl decals, you can continue to add details that will impress anyone who asks where you found your images.
The first extra step is to apply the laminate overlay to your existing vinyl images. By itself, printable vinyl is guaranteed to last outside for about a year. With a laminate overlay, you can increase this to up to 5 years. If you attach your overlays to something that stays indoors, like a computer tower or a cell phone case, you might be able to make an image last for a decade.
It’s up to you whether you want to go with a glossy or matte finish. This depends on your personal preference as well as the surface you’re working with for the image.
Start with cutting down the laminate size to 8.5 X 11 or whatever you chose for the printed image. You’ll then peel an edge of the laminate away from the backing it comes with. You then need to line up the laminate with the edge of the page.
Grab your application tool to very slowly smooth down the laminate onto the vinyl while, at the same time, tearing away the backing. If you didn’t manage to get an application tool, use the rear side of a credit card (the one without any digits).
With either the application tool or a card in hand, start brushing across the laminate overlay to ensure that it stays put. Proper adhesive is the key to making your new creation look its best.
Cutting the Complete Decals
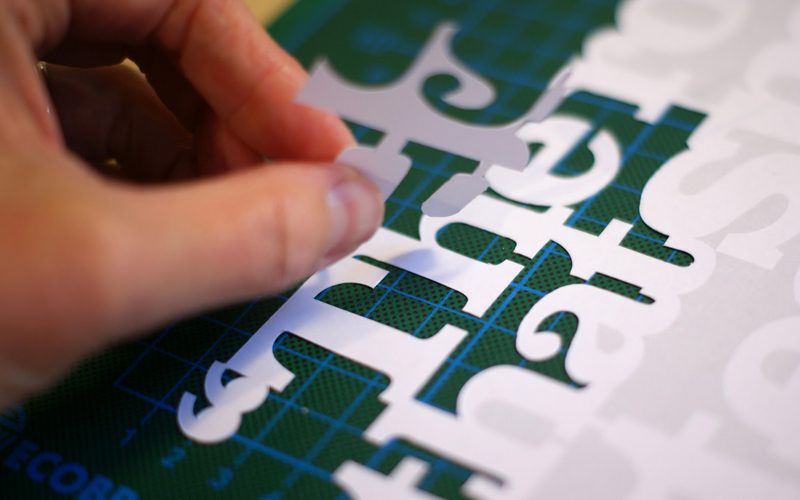
With your laminate overlay in place, it’s time to cut away the excess vinyl. If you aren’t using any kind of machine, be sure that the scissors you are using will cut through the material. You can also use a craft knife, along with a cutting mat, if you have access to them.
Those using a Silhouette machine can place the vinyl directly into the machine to load it up. This is where you’ll want to adjust the cut settings on the device. The best numbers for printed vinyl with a laminate overlay in place are as follows:
With this in place, the machine will detect where to cut and how deeply to cut. All that’s left for you to do is peel off your images and stick them wherever you want.
Mastering How to Make Vinyl Decals
Once you have gone through the process for the first time, you’ll discover that learning how to make vinyl decals isn’t too complicated. When you get together all the necessary materials, anyone with a printer and scissors is all set.
If you want to go the extra mile, you can try this out with a cutting machine. You might find that this is your new favorite hobby, and you could discover a brand-new art venture for yourself. Given the right social media prowess and hashtags, you might be the next go-to person for selling decals online.
There’s no limit to the number of images you can make with vinyl decals. If you prepare correctly, you can make deluxe adhesive that will last longer than some of the appliances that hold the stickers.
Nothing is holding you back from becoming an expert crafter, other than the right pictures and some vinyl. Have fun, and don’t forget to stock up on printer ink!